Address
304 North Cardinal St.
Dorchester Center, MA 02124
Work Hours
Monday to Friday: 7AM - 7PM
Weekend: 10AM - 5PM
Address
304 North Cardinal St.
Dorchester Center, MA 02124
Work Hours
Monday to Friday: 7AM - 7PM
Weekend: 10AM - 5PM
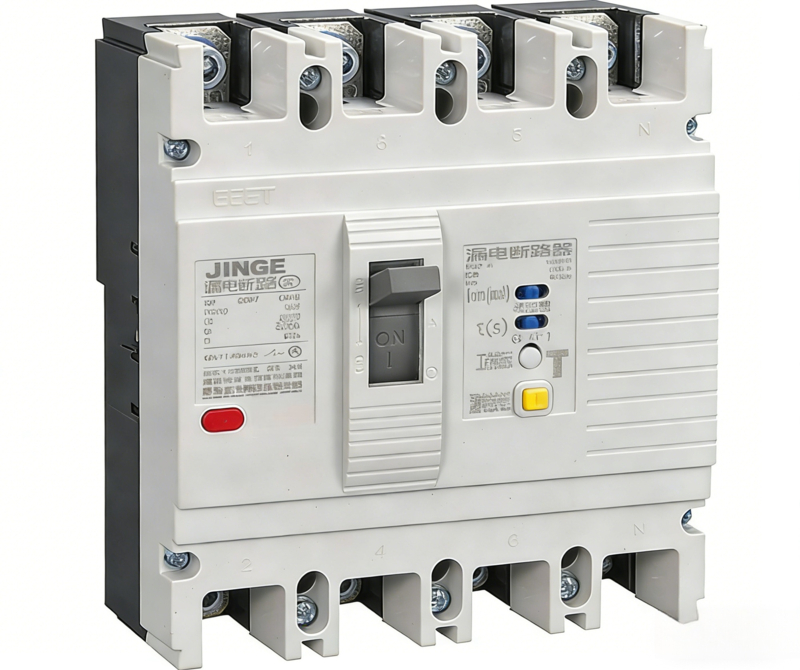
Circuit Breaker Installation, Maintenance & Troubleshooting | Complete Guide for B2B Projects
Circuit breakers are the core safety components of power systems. Many failures are not caused by quality problems, but by wrong installation or lack of maintenance. For B2B buyers, installers, and project managers, standard operation can extend service life by 5–10 years and reduce failure rate by more than 80%.
This article covers installation, maintenance, and troubleshooting — all in plain language, suitable for non-technical users.
1. Standard Installation Steps (Must Follow)
(1) Check Before Installation
(2) Fix & Install
(3) Wiring (Most Important)
(4) Test After Installation
2. Daily & Regular Maintenance
Good maintenance can avoid most accidents.
Monthly Check
Quarterly Maintenance
Annual Maintenance
Key Tips
3. Common Faults & Troubleshooting (Most Useful Part)
Fault 1: Frequent tripping
Possible reasons:
Solution:
Check load → reduce load → check line → reset parameters.
Fault 2: Cannot close
Possible reasons:
Solution:
Do not force close. Check line and eliminate fault first.
Fault 3: Terminal overheating
Possible reasons:
Solution:
Power off → re-tighten → replace cable → reduce load.
Fault 4: Leakage tripping for no reason
Possible reasons:
Solution:
Check insulation → dry cable → replace equipment if needed.
FAQ
Q1: How often should circuit breakers be maintained?
A: Monthly inspection, quarterly fastening, annual comprehensive test.
Q2: Why does the breaker trip when it rains?
A: Cable or equipment damp → insulation reduced → leakage.
Q3: Can I use a damaged breaker temporarily?
A: No. It is extremely dangerous and may cause fire.
Q4: What tools are needed for installation?
A: Screwdriver, torque wrench, multimeter.
Q5: How to judge if the breaker is broken?
A: Abnormal heat, noise, spark, frequent tripping, cannot close.
Conclusion
Correct installation and maintenance are more important than product quality. Following this guide can make your circuit breaker run safely and stably for a long time, reduce downtime, and save cost for your B2B project.